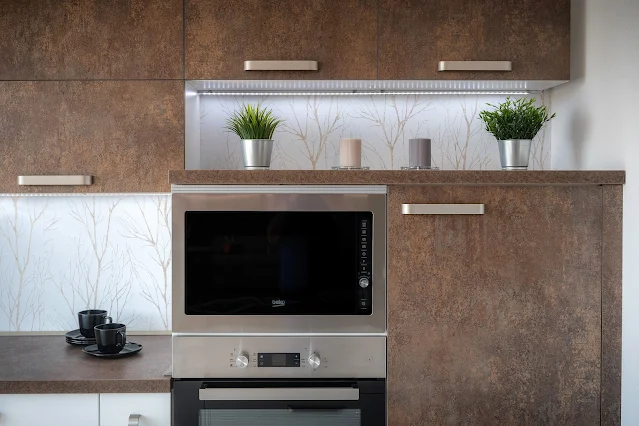
Maintaining a clean and sparkling oven is essential not only for the aesthetics of your kitchen but also for the quality of your cooking. A grimy and greasy oven can negatively impact the flavor of your dishes and even pose safety risks. Employing the services of a professional oven cleaner might come with a hefty price tag. However, the silver lining is that attaining a flawlessly clean oven is an achievable feat by employing basic do-it-yourself methods. Within this all-encompassing manual, we will guide you systematically through the process of efficiently cleansing your oven. This will be accomplished using common household components and requiring only a modest amount of exertion. Get ready to restore your oven's former glory and enhance your culinary experience!
DIY Oven Cleaning Guide: Achieve a Sparkling Clean Oven Easily
Why Oven Cleaning Matters
Before delving into the DIY cleaning methods, let's understand why keeping your oven clean is so important. Over time, ovens accumulate grease, food particles, and burnt residues. These substances not only produce unpleasant odors when you cook but can also lead to smoke and even fires. Moreover, the build-up of grime can affect the oven's heating efficiency and result in unevenly cooked dishes.
On the flip side, a completely pristine oven enhances superior air circulation. This enables your culinary delights to be perfectly cooked, holding onto their authentic flavors. Furthermore, a properly upkept oven gobbles up less energy, equating to reduced utility expenses. Therefore, dedicating a bit of your time to cleanse your oven equals safeguarding a cozier, more effective, and delightful cooking escapade.
Gathering Your Cleaning Arsenal
Before you embark on your oven-cleaning journey, make sure you have the following items on hand:
1. Baking Soda: An excellent natural abrasive that helps break down stubborn grease and grime.
2. Vinegar: This acidic liquid works wonders in cutting through grease and lifting dirt.
3. Rubber Gloves: Protect your hands from chemicals and hot water during the cleaning process.
4. Spray Bottle: To create a cleaning solution with vinegar and water.
5. Damp Cloths: For wiping down the oven's interior and exterior.
6. Old Newspapers or Drop Cloth: To catch any potential drips and spills.
Step-by-Step Cleaning Process
Follow this step-by-step guide to achieve a sparkling clean oven without the need for harsh chemicals:
Step 1: Preparation
Begin by removing the oven racks, thermometer, and any other removable parts. Immerse them within a basin brimming with pleasantly warm, soapy water for a soaking session. This technique will effectively loosen the dirt, rendering them more manageable to cleanse in the times ahead.
Step 2: Creating the Cleaning Solution
In a spray container, combine water and white vinegar in equal proportions. This concoction not only boasts impressive efficacy but also upholds safety for both you and the surroundings. Shake the bottle gently to ensure proper mixing.
Step 3: Applying the Solution
Open your oven and generously spray the vinegar-water solution all over the interior, focusing on areas with heavy build-up. The vinegar's acidity will start breaking down the grease and grime on contact.
Step 4: Baking Soda Application
Now, sprinkle a thick layer of baking soda all over the sprayed surfaces. Pay extra attention to the dirtiest spots. Baking soda's gentle abrasiveness will work in harmony with the vinegar to loosen and lift away the grime.
Step 5: Letting it Sit
Close the oven door and let the vinegar and baking soda mixture work its magic for at least 12 hours, or overnight. During this time, the combination will break down tough stains and residue.
Step 6: Scrubbing
After the waiting period, put on your rubber gloves and dampen a cloth in warm water. Start scrubbing the oven's interior surfaces to remove the loosened grime. You'll notice that the dirt comes off more easily, requiring less elbow grease.
Step 7: Rinsing
Dampen another cloth with clean water and wipe down the oven's interior to remove any remaining baking soda residue and vinegar traces. You might need to rinse and wring the cloth several times to ensure a thorough clean.
Step 8: Cleaning the Racks
Remove the oven racks from the soapy water and utilize a gentle scrubber to eliminate any lingering residue. Wash them under flowing water and ensure thorough drying prior to reintroducing them into the oven.
Step 9: Final Touches
For a truly gleaming look for your oven, crinkle up aged newspapers or place a protective sheet at the oven's base. Set the oven to a lower heat (approximately 200°F/93°C) for roughly 15-20 minutes. This will help burn off any remaining residue and eliminate lingering odors.
Maintaining a Clean Oven
Now that you've invested the time and effort into cleaning your oven, it's essential to follow some maintenance tips to keep it sparkling:
1. Wipe spills promptly: As soon as you notice spills or drips, wipe them up with a damp cloth. This prevents them from hardening and becoming difficult to remove later.
2. Use oven liners: Consider placing oven liners on the bottom of the oven to catch drips and spills, making clean-up easier.
3. Regular light cleaning: Once a week, wipe down the oven's interior with a cloth dampened with water. This will help prevent the build-up of grease and grime.
4. Avoid harsh chemicals: Stick to natural cleaning solutions to protect your oven's surfaces and your health.
Conclusion
A clean oven is within your reach, and you don't need to rely on expensive professional cleaning services. With some household items and a little patience, you can transform your grimy oven into a sparkling, efficient cooking companion. Regular maintenance and swift action against spills will prolong your oven's cleanliness and enhance your cooking experience. So, put on your gloves, gather your supplies, and get ready to bask in the glory of your spotless oven. Your culinary creations will undoubtedly shine as bright as your oven's interior!
